The Last-Minute, $30 Guide to a Chic Charcuterie Board
Anyone can host, and anyone can shop. But not everyone can stay on budget when building a charcuterie board. Set the spending limit at $30 or less, bring out your artistic side, and let the challenge begin!
Reality of Beautiful Chaos
Some people are naturals when it comes to hosting and planning. Others like me require a little bit of pressure to get things done. It is no surprise when I tell you that my “living on the edge” personality strikes me with realization the day I have guests showing up. Panic and double speed set in as I look around and survey the beautiful chaos of toys and children. I feel less ‘chic’ and more ‘chaotic’ than I would ever care to admit. Quickly, a mental grocery list is made. With $30 or less to spend and little time to get ready, an elegant board comes to life. Here is exactly how to do it:
Charcuterie on a Real-Life Budget
The Secret Ingredients: The $30 Shopping List:
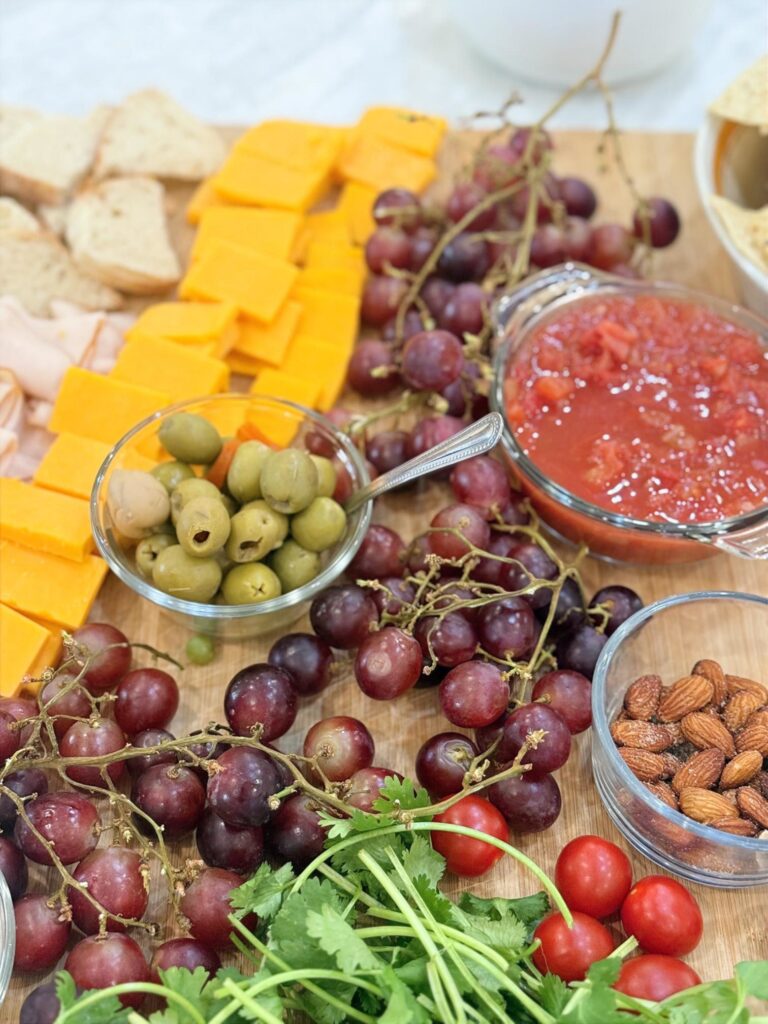
- 2 Cheeses: One hard and one soft (like a cheddar and a soft brie). Choosing contrasting colors adds instant visual texture.
- Meat: Look for pre-packaged varieties (prosciutto, salami, and capocollo). They are cost-effective and offer a great variety.
- Fillers: Crisp grapes, a box of artisanal crackers, and a small jar of honey or jam.
- Green sprig: A bundle of fresh rosemary or mint to elevate the entire look.
Hosting Hack: If you have extra guests showing up and need to stretch this $30 board even further, check your fridge for sour cream or Greek yogurt. You can whip up a crowd-pleasing appetizer in seconds using my favorite savory and sweet dip recipes that pair perfectly with fruit and crackers.
How to style a board to look expensive
The secret to styling a board is not the price tag; it’s how you present it.
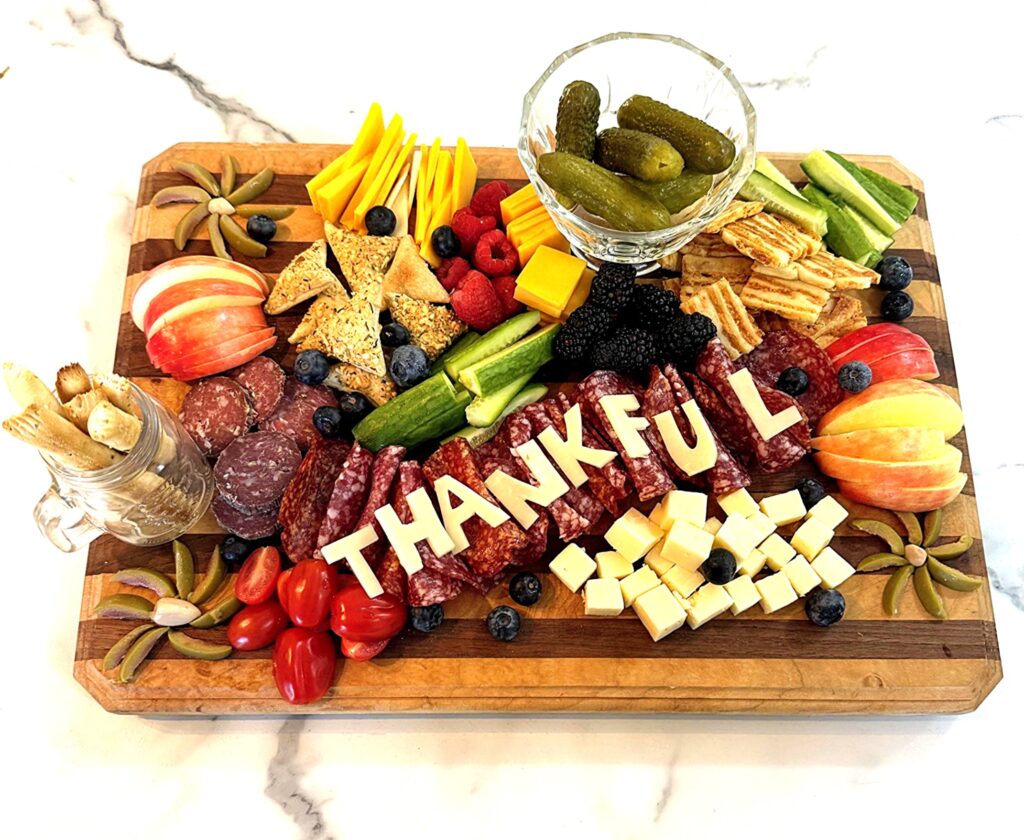
- Anchor your board: Use the cheeses as the base of the tray and build around them
- Weave the meat: accordion fold your salami and weave your prosciutto across the board to give it that chic, unorganized look.
- Abundance: Fill every remaining empty space with crackers, bread and fruit.
- Create Height: Add height using your honey or jams. Depending on the theme of the dinner, you could also add salsa or dips.
- Finishing touches: Drop your green sprigs, any chocolates, nuts or even dried fruit into any open holes, adding variety to your tray.
Pro-Tip: Check your pantry! Those half-eaten bags of almonds, dried cranberries, or dark chocolate chips hiding in your cabinets are absolute lifesavers for filling gaps and adding a gourmet feel for free.
(By the way, if you want to know how I keep these staples fresh for months, so they are always ready for last-minute guests, check out my guide on switching from plastic to glass storage!)
Do you have any comments or questions? I’d love to hear from you in the comment section below!
FAQS:
What if I don’t have a wooden charcuterie board?
Don’t let this stop you. Any surface works. Even your bare countertops with some paper or lining underneath your display to make clean up quicker. It’s not about the board but the experience.
How do I keep the fruit from making the crackers soggy?
Using bowls to separate the soft items that can get soggy is a good idea, as it can be prepped and just put away until you are ready to place it on your board. This keeps the dry item dry. It also adds shape and height to your board.
Can I prep this ahead of time?
You can slice the hard cheese and meat an hour early but wait to add the crackers and herbs until the last 10 minutes. This keeps the textures fresh and the green sprigs vibrant.